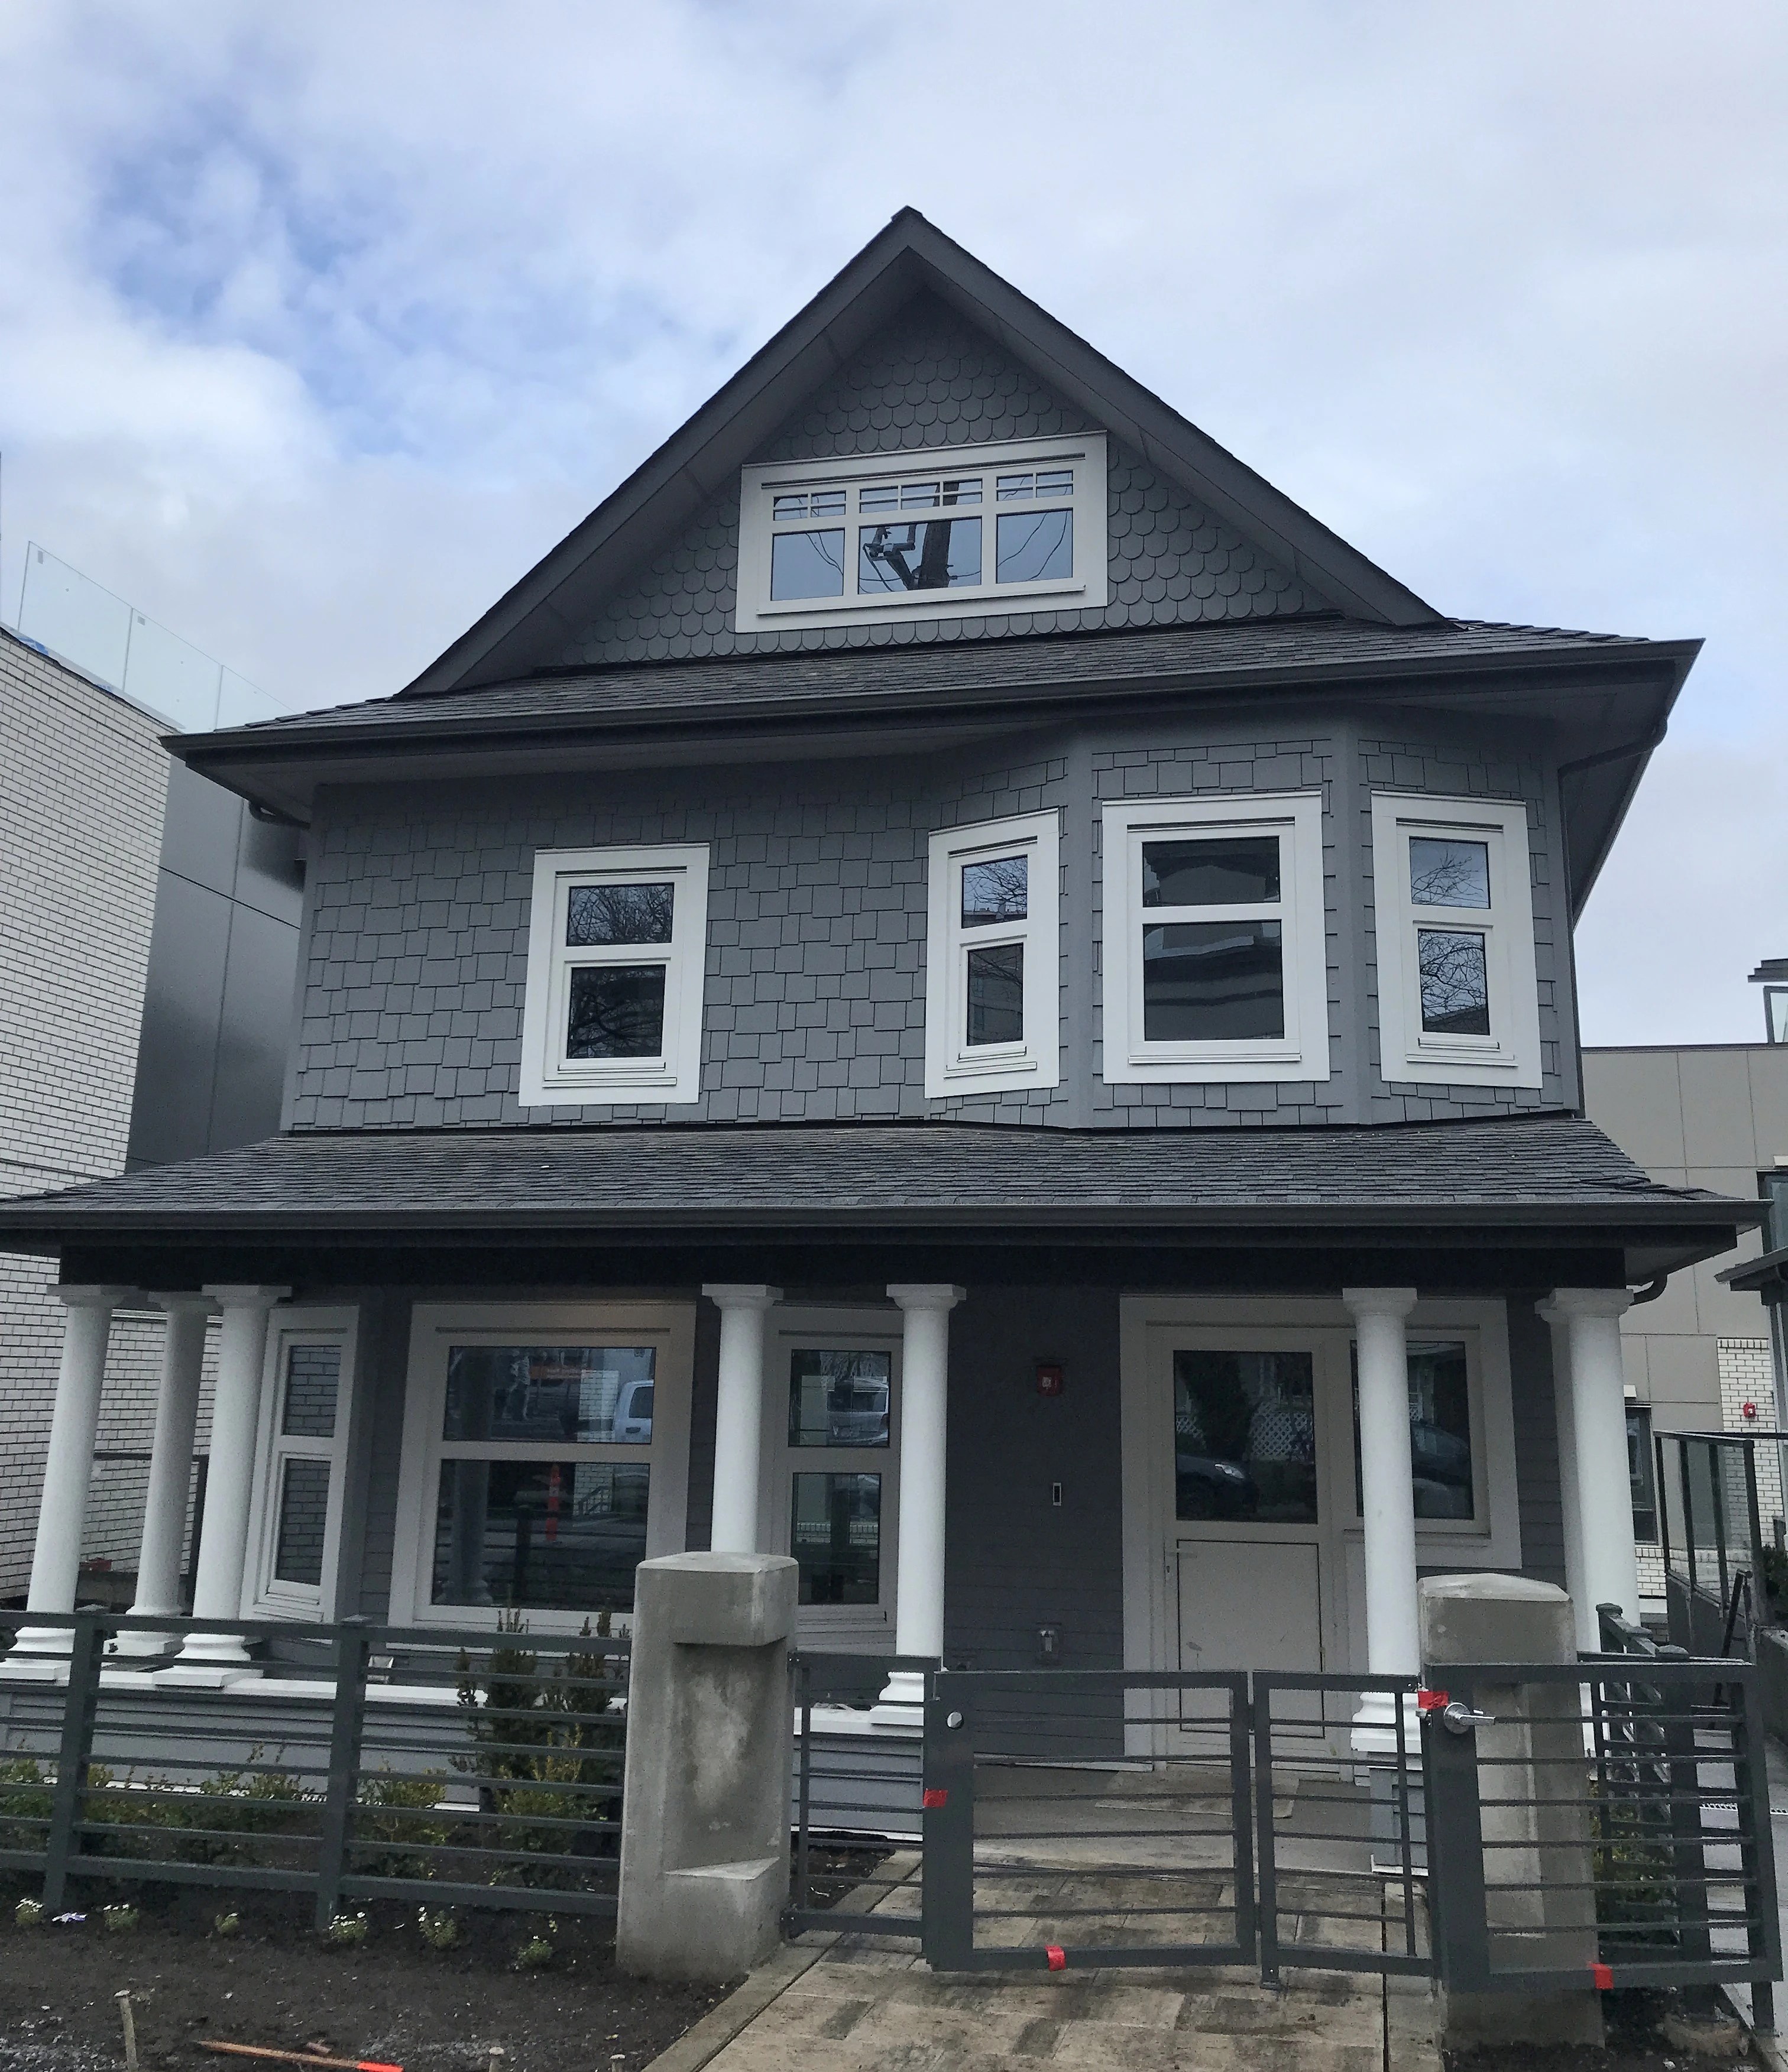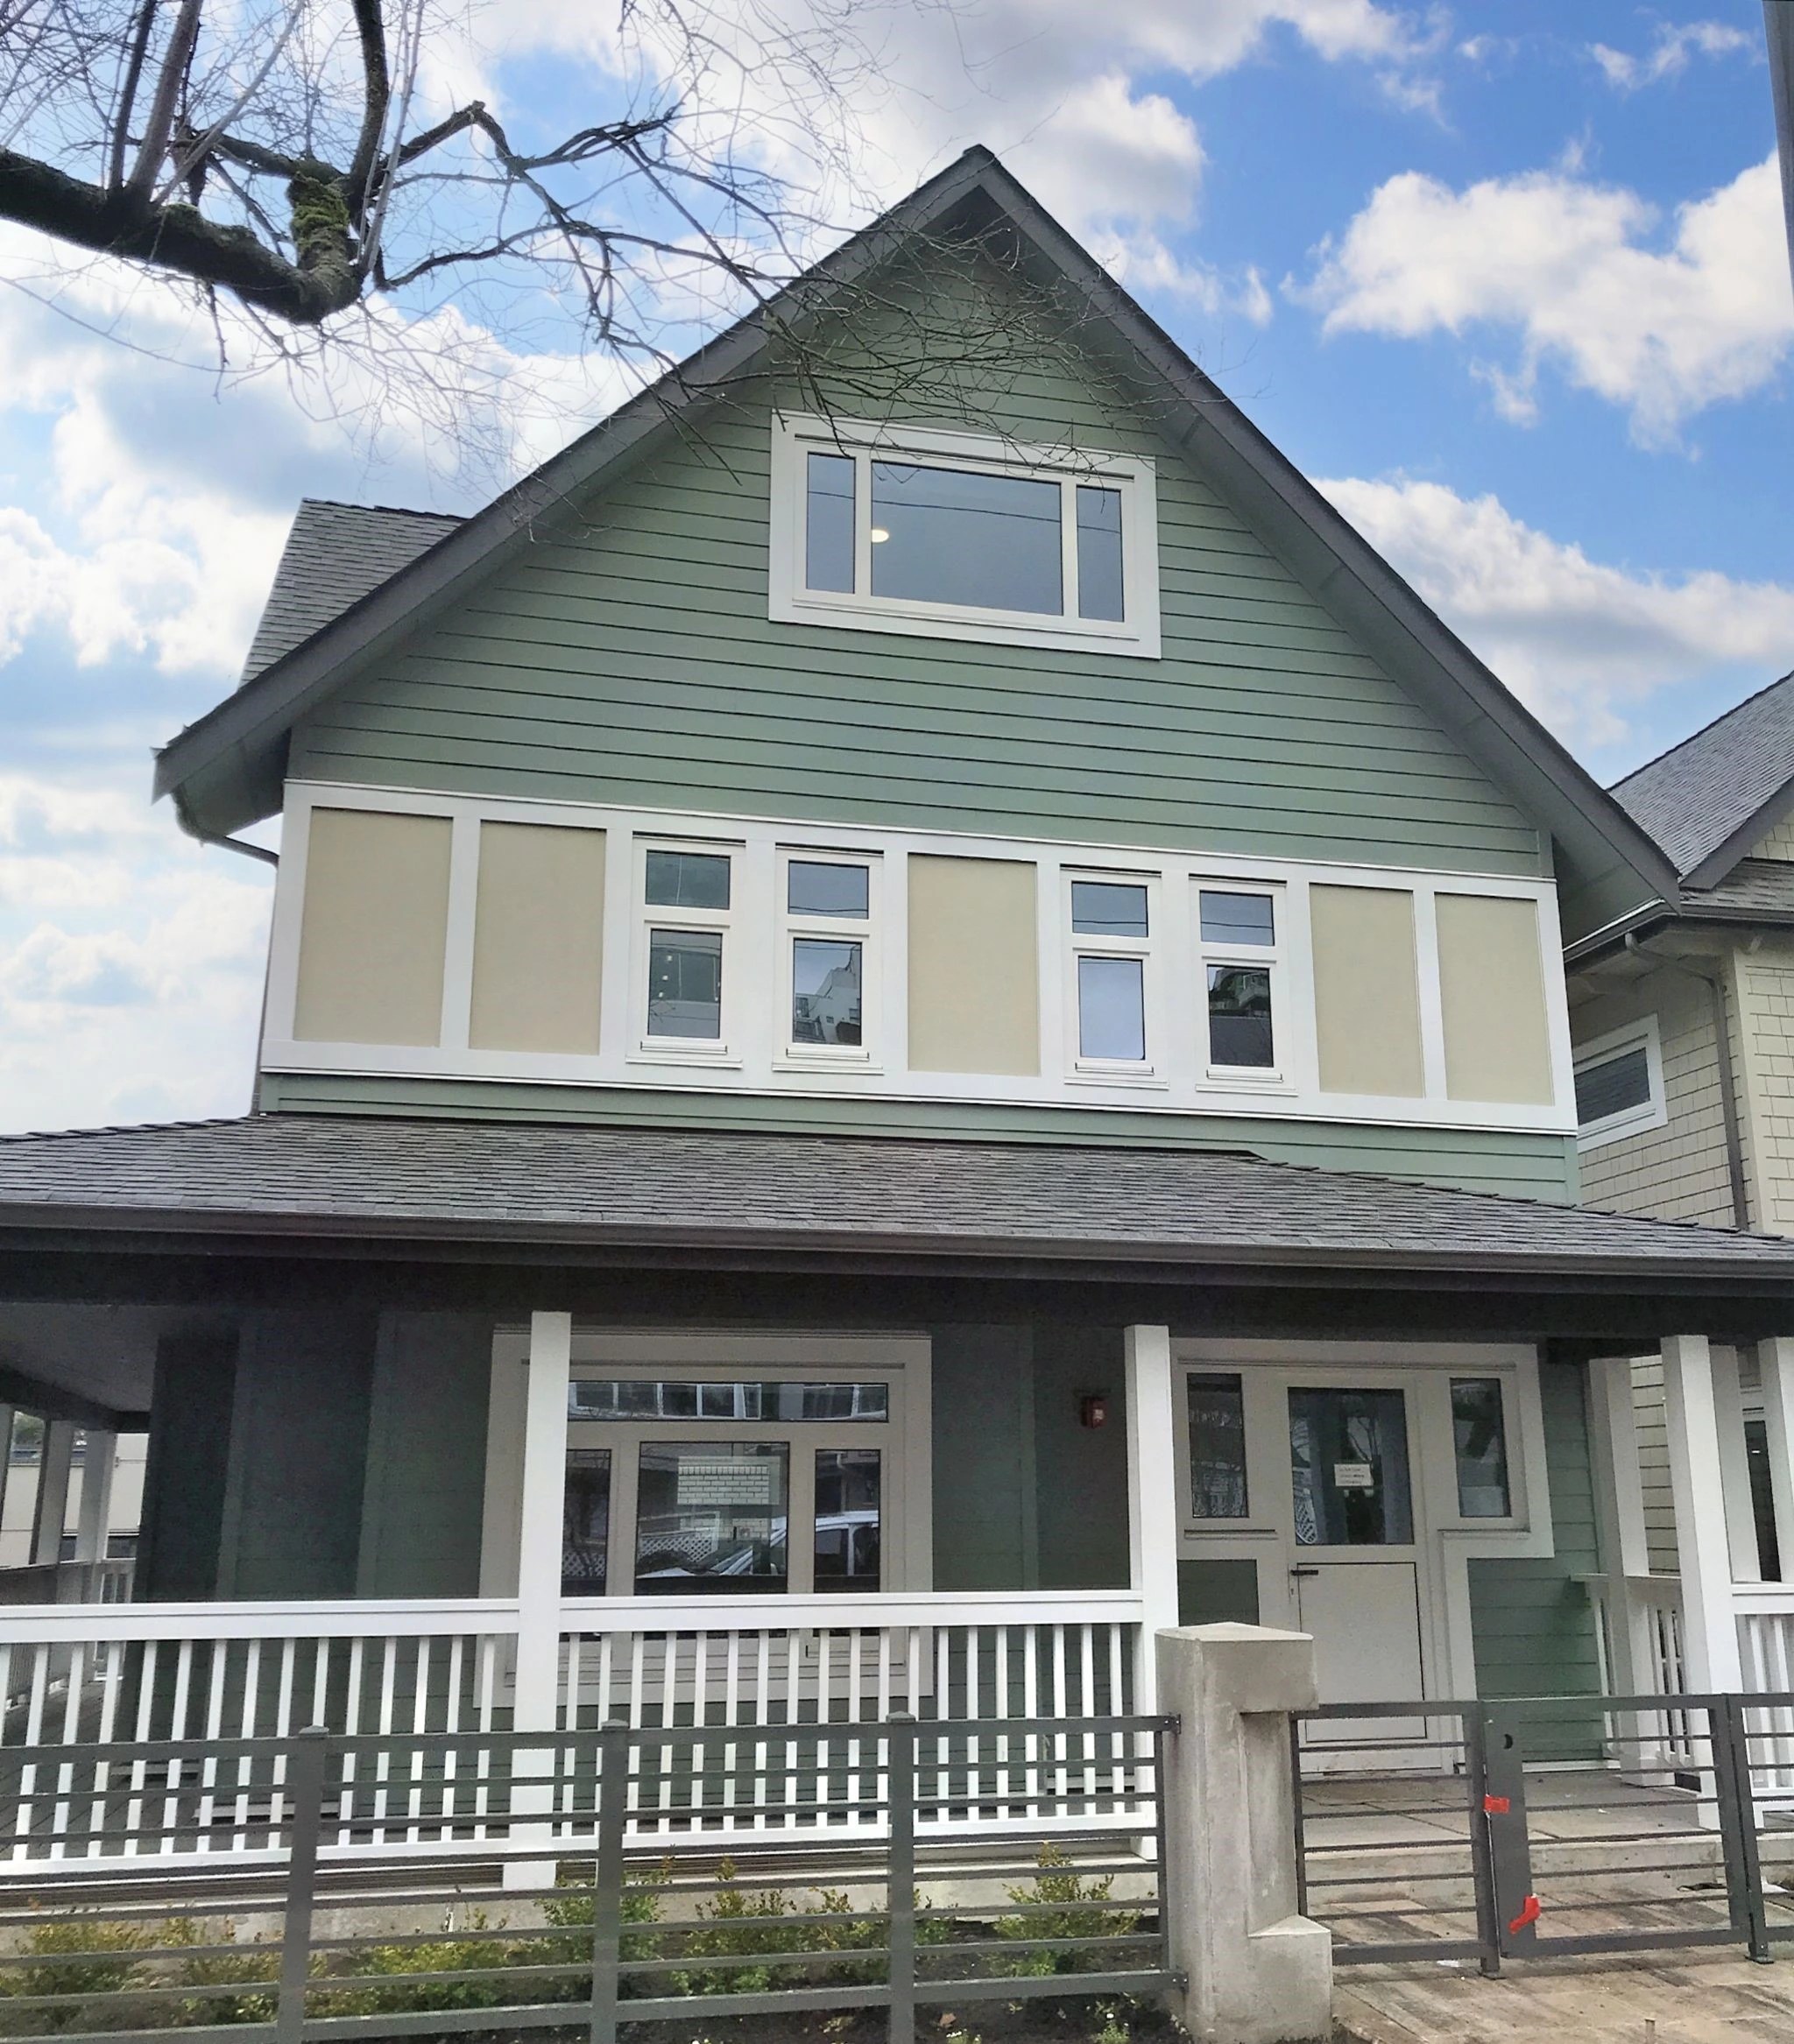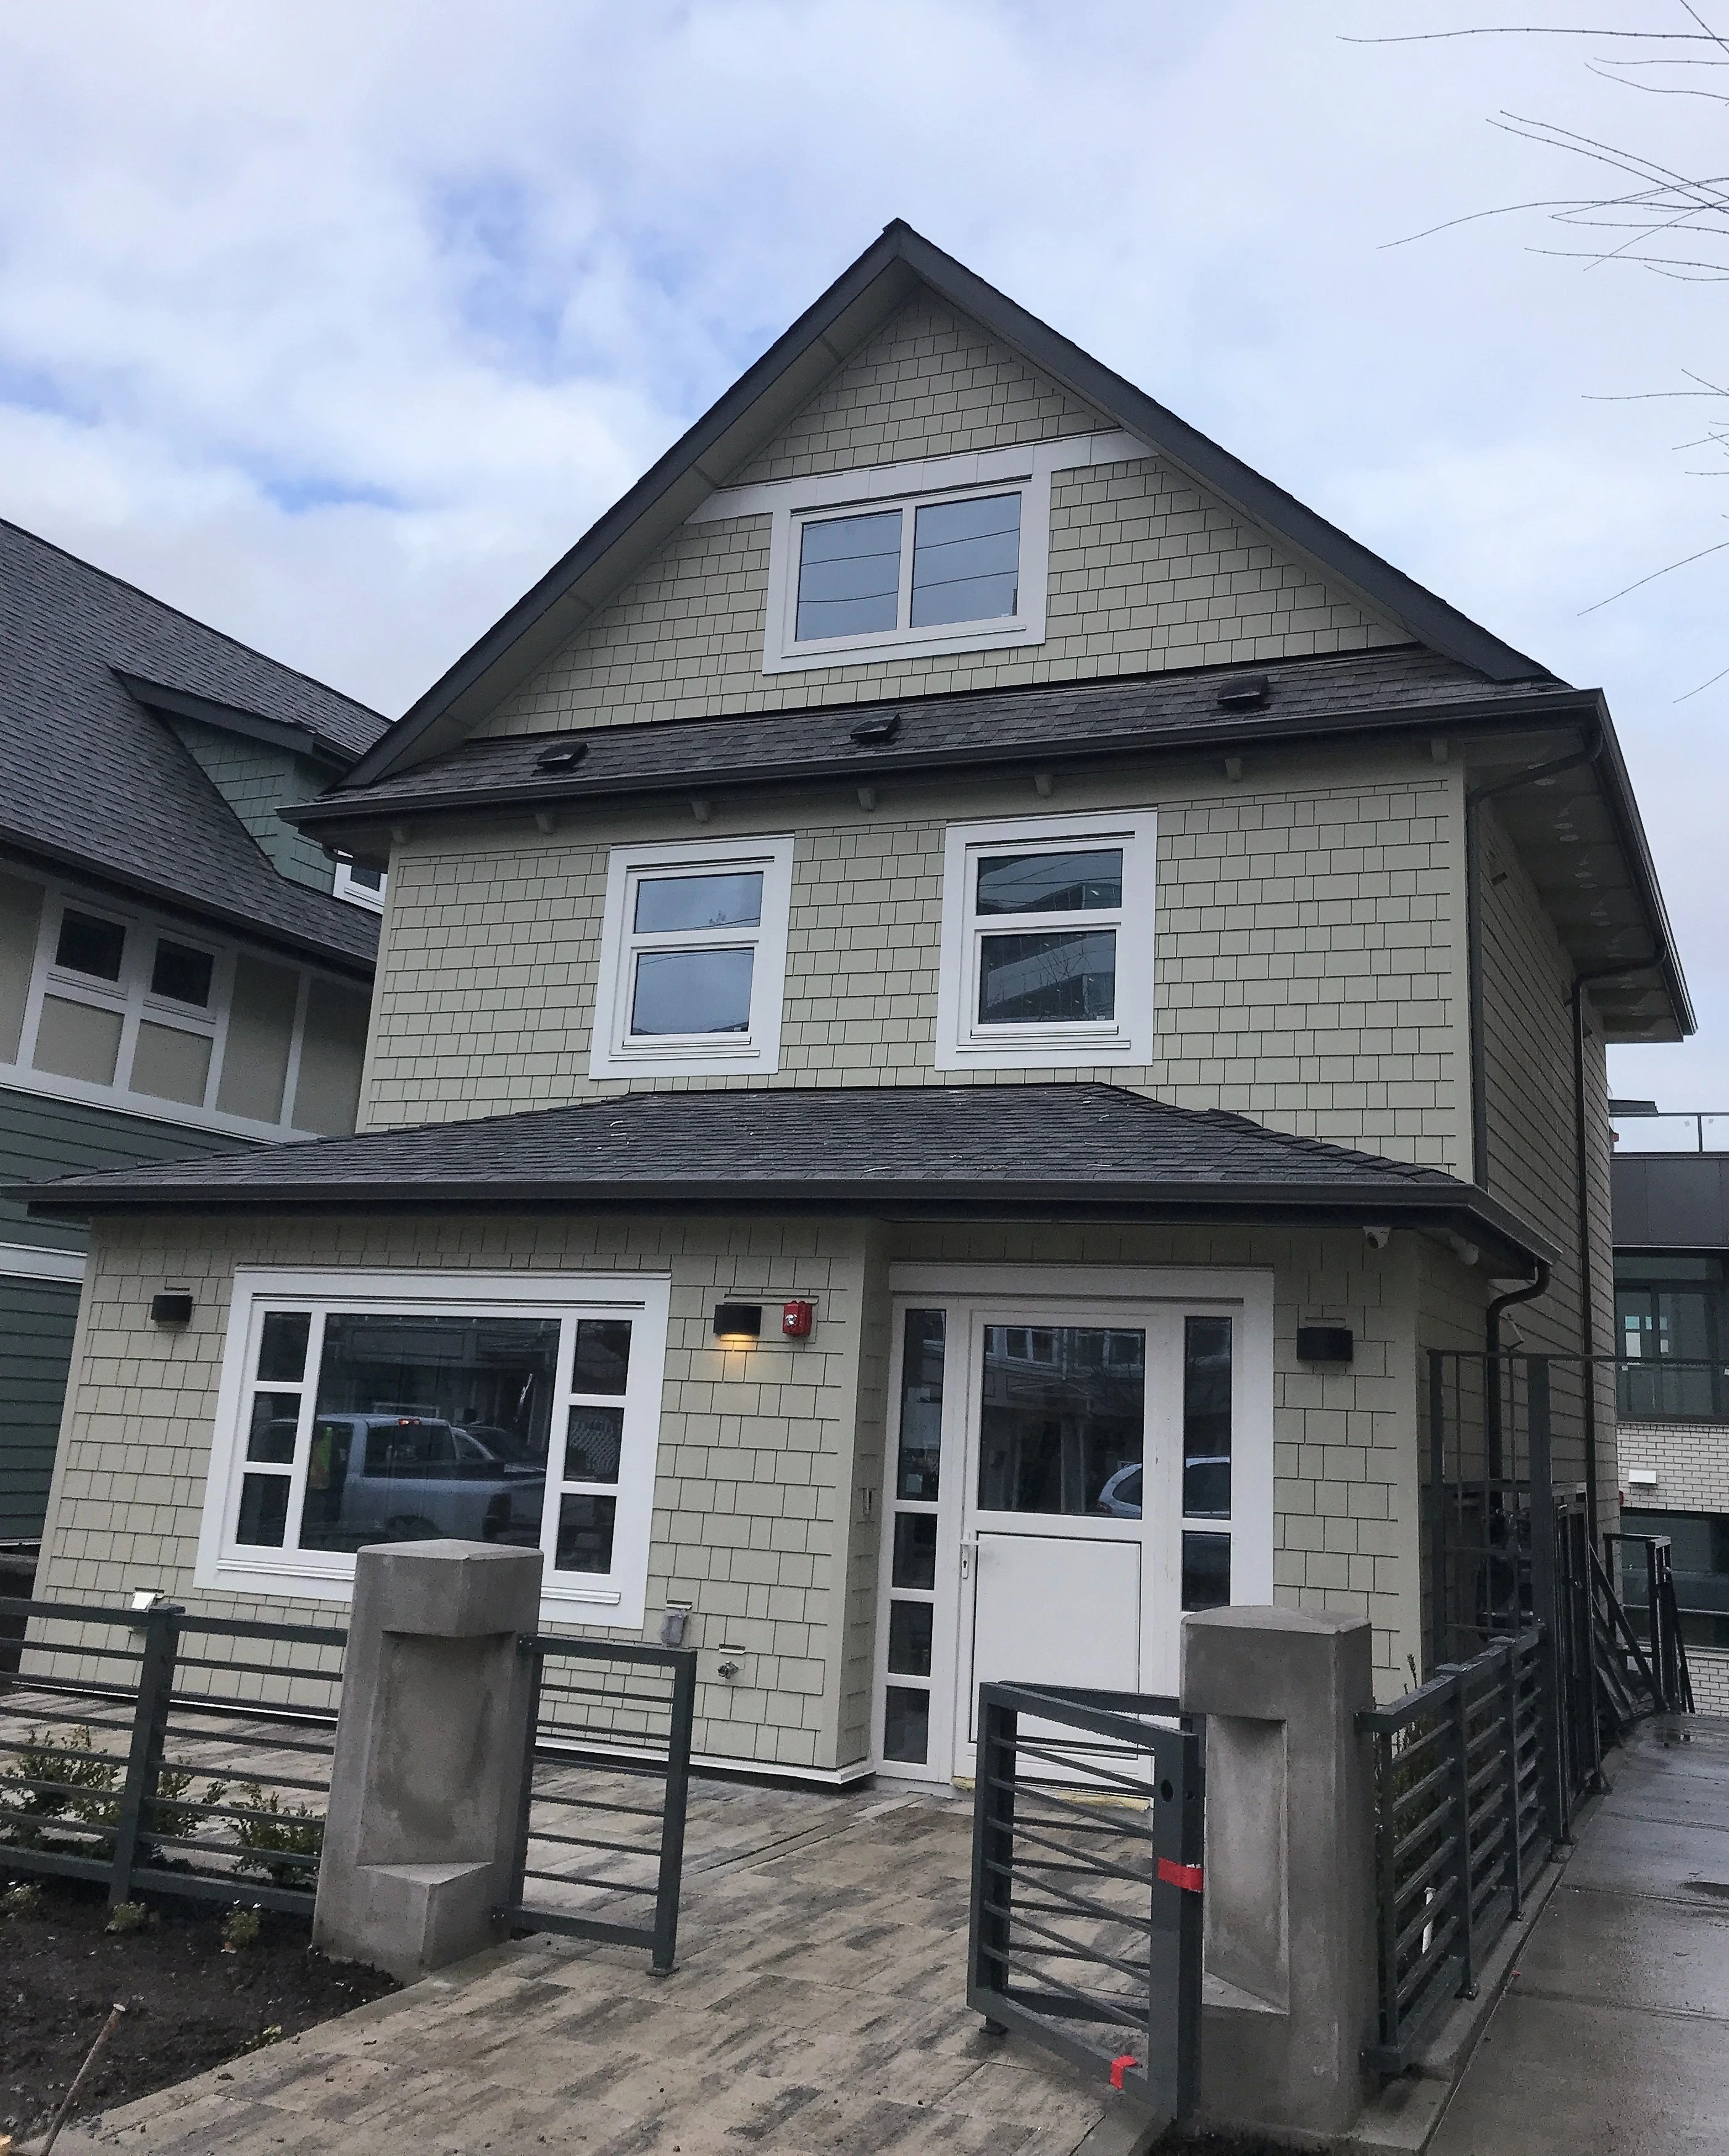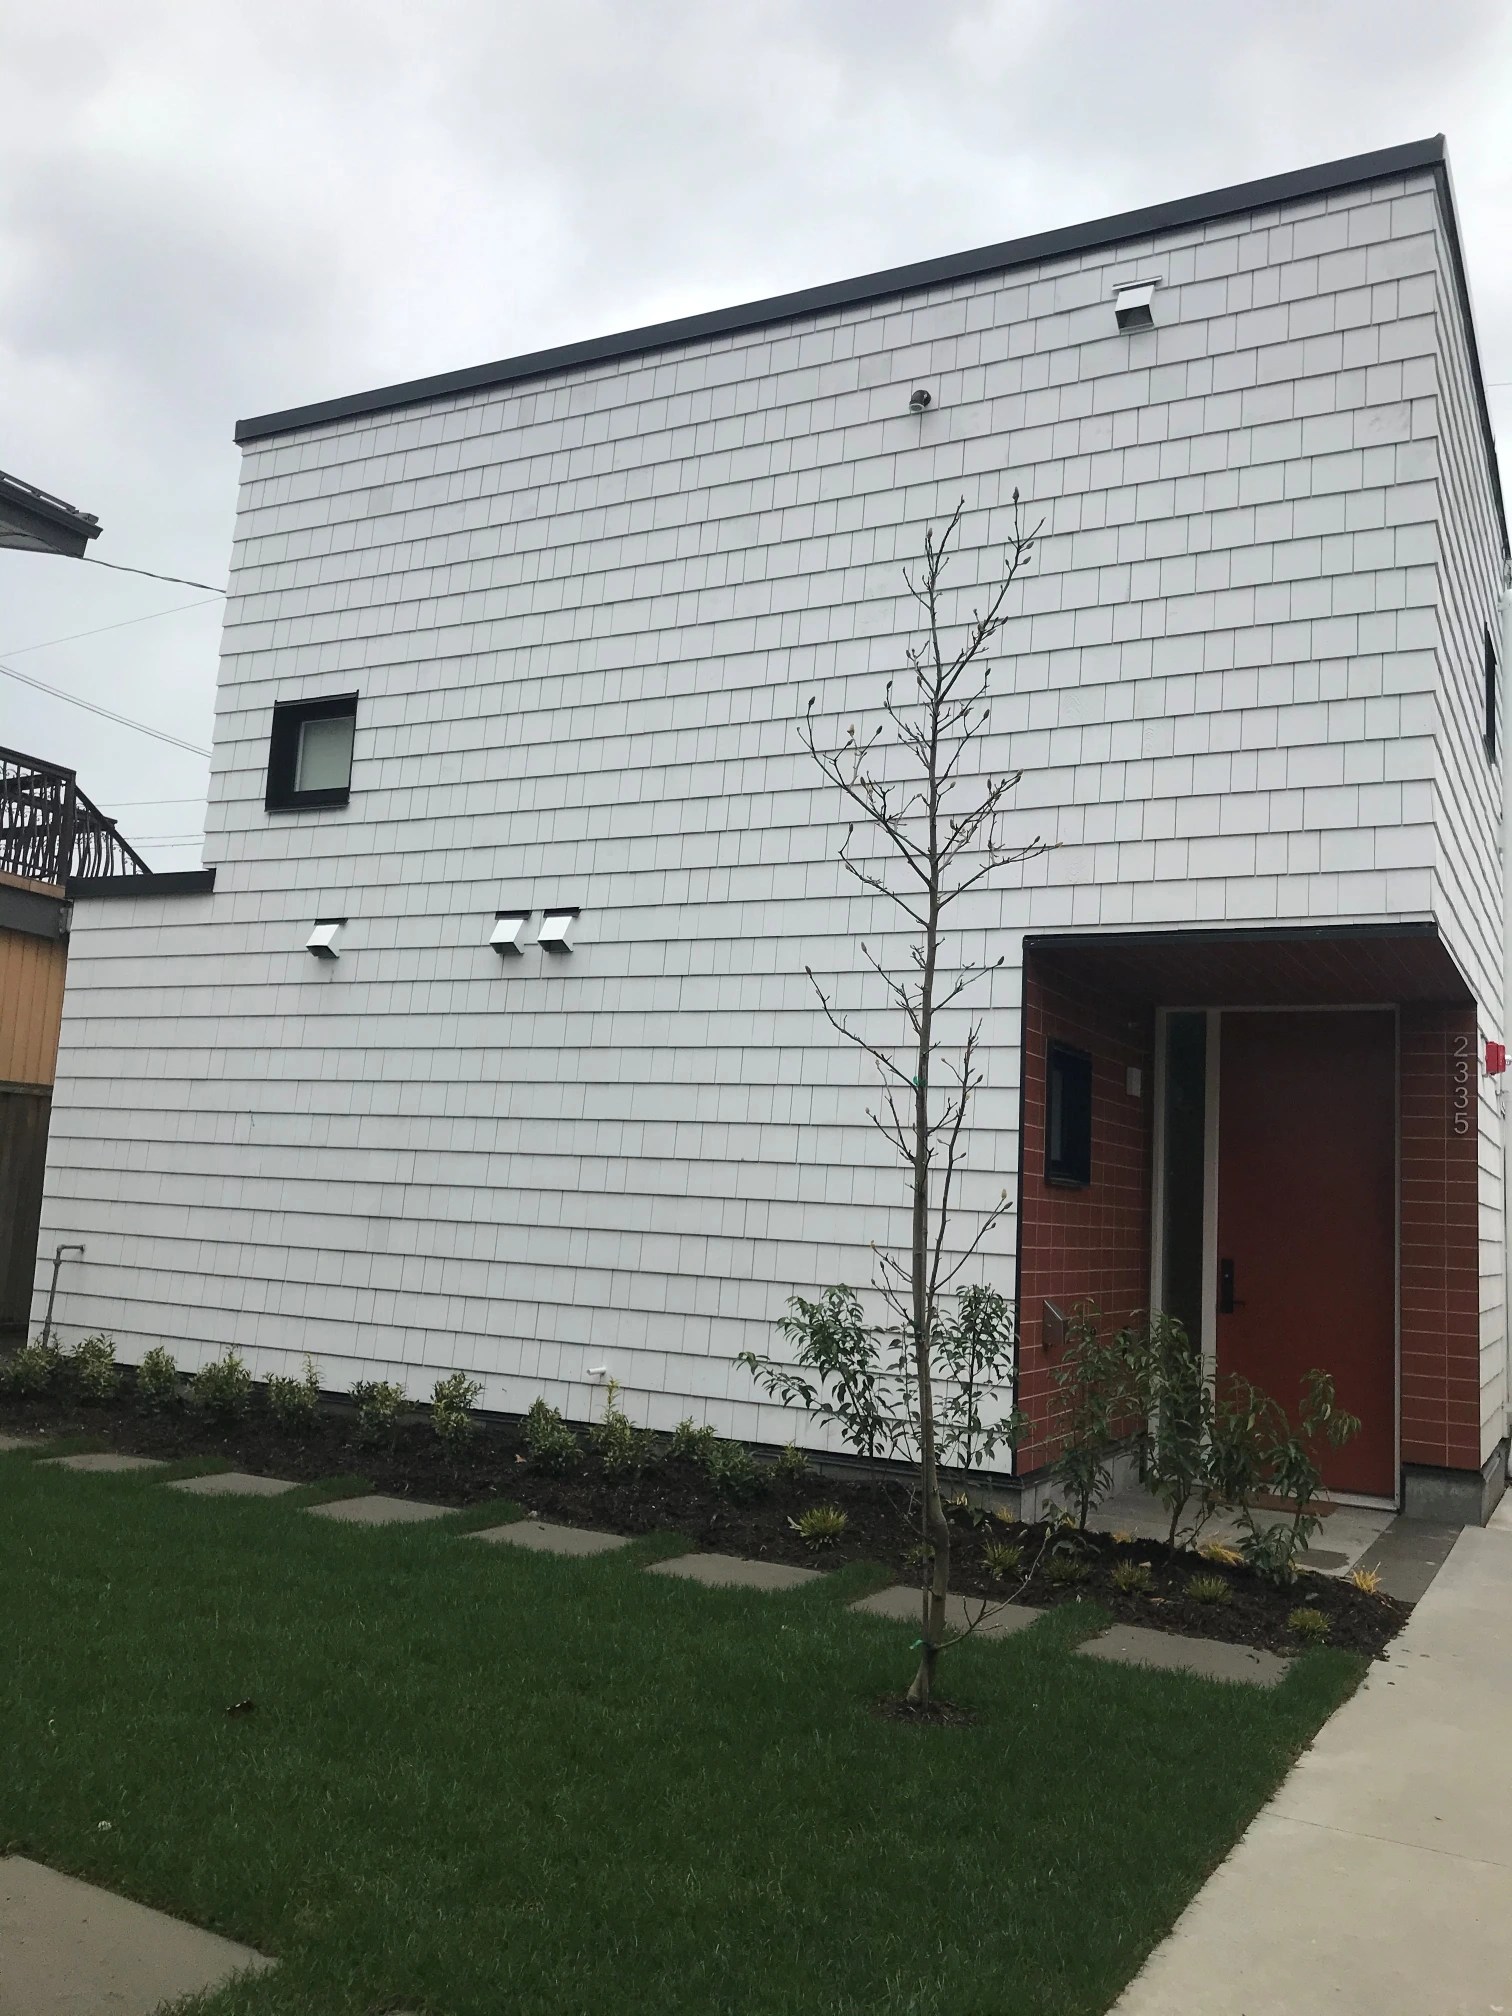

Siding is one of the most visible components of any new construction project. It covers the exterior walls of the building and provides a finished look that can greatly impact the building’s overall aesthetic appeal. A well-chosen and properly installed siding material can significantly enhance the building’s curb appeal, creating a positive first impression and increasing the value of the property.
Key steps for siding at new construction:
- Review of Drawings and Specifications: The first step in the siding installation process is to review the drawings and specifications provided by the architect and/or building owner to ensure that the correct materials and design are used. It is also essential to know all the next steps, so any doubts or conflicts can be resolved in advance. Typically, we can find discrepancies in the material list and specific details of the sections.
- Planning and Preparation: This involves selecting the appropriate siding material, estimating the cost and timeline of the project, and identifying any necessary permits required for the project. Site preparation is also completed, which includes ensuring that the building’s framing and sheathing are complete. It is also necessary to have all the penetrations that lead to the exterior properly prepared and installed, so that the house can be wrapped and sealed with a weather-resistant layer, such as Tyvek.
- Installation: The first step is installing a moisture barrier (Tyvek, Self-adhered membrane, liquid membrane), followed by insulation if needed/required, and then creating the grid for the airflow. All this is called a rain-screen system. After the rain-screen system is completed, siding installation can start. The siding material is installed one by one, usually starting from the bottom of the wall and working upwards. The siding is secured to the building’s framing or rain-scree using nails or screws. Trims are also installed around windows and doors to provide a finished look and to ensure proper sealing.
- Quality Control: Quality control checks are performed during and after the siding installation to ensure that the siding is installed properly and meets local building codes and regulations. Any issues or defects are identified and corrected.
- Finishing: The finishing touches include installing any necessary trim, sealing around windows and doors, and adding any necessary caulking. The job site is cleaned up and any excess materials and debris are removed.
- Handover: Once the siding installation is complete, the building owner is provided with any necessary documentation, such as warranty information, and the job is considered complete.